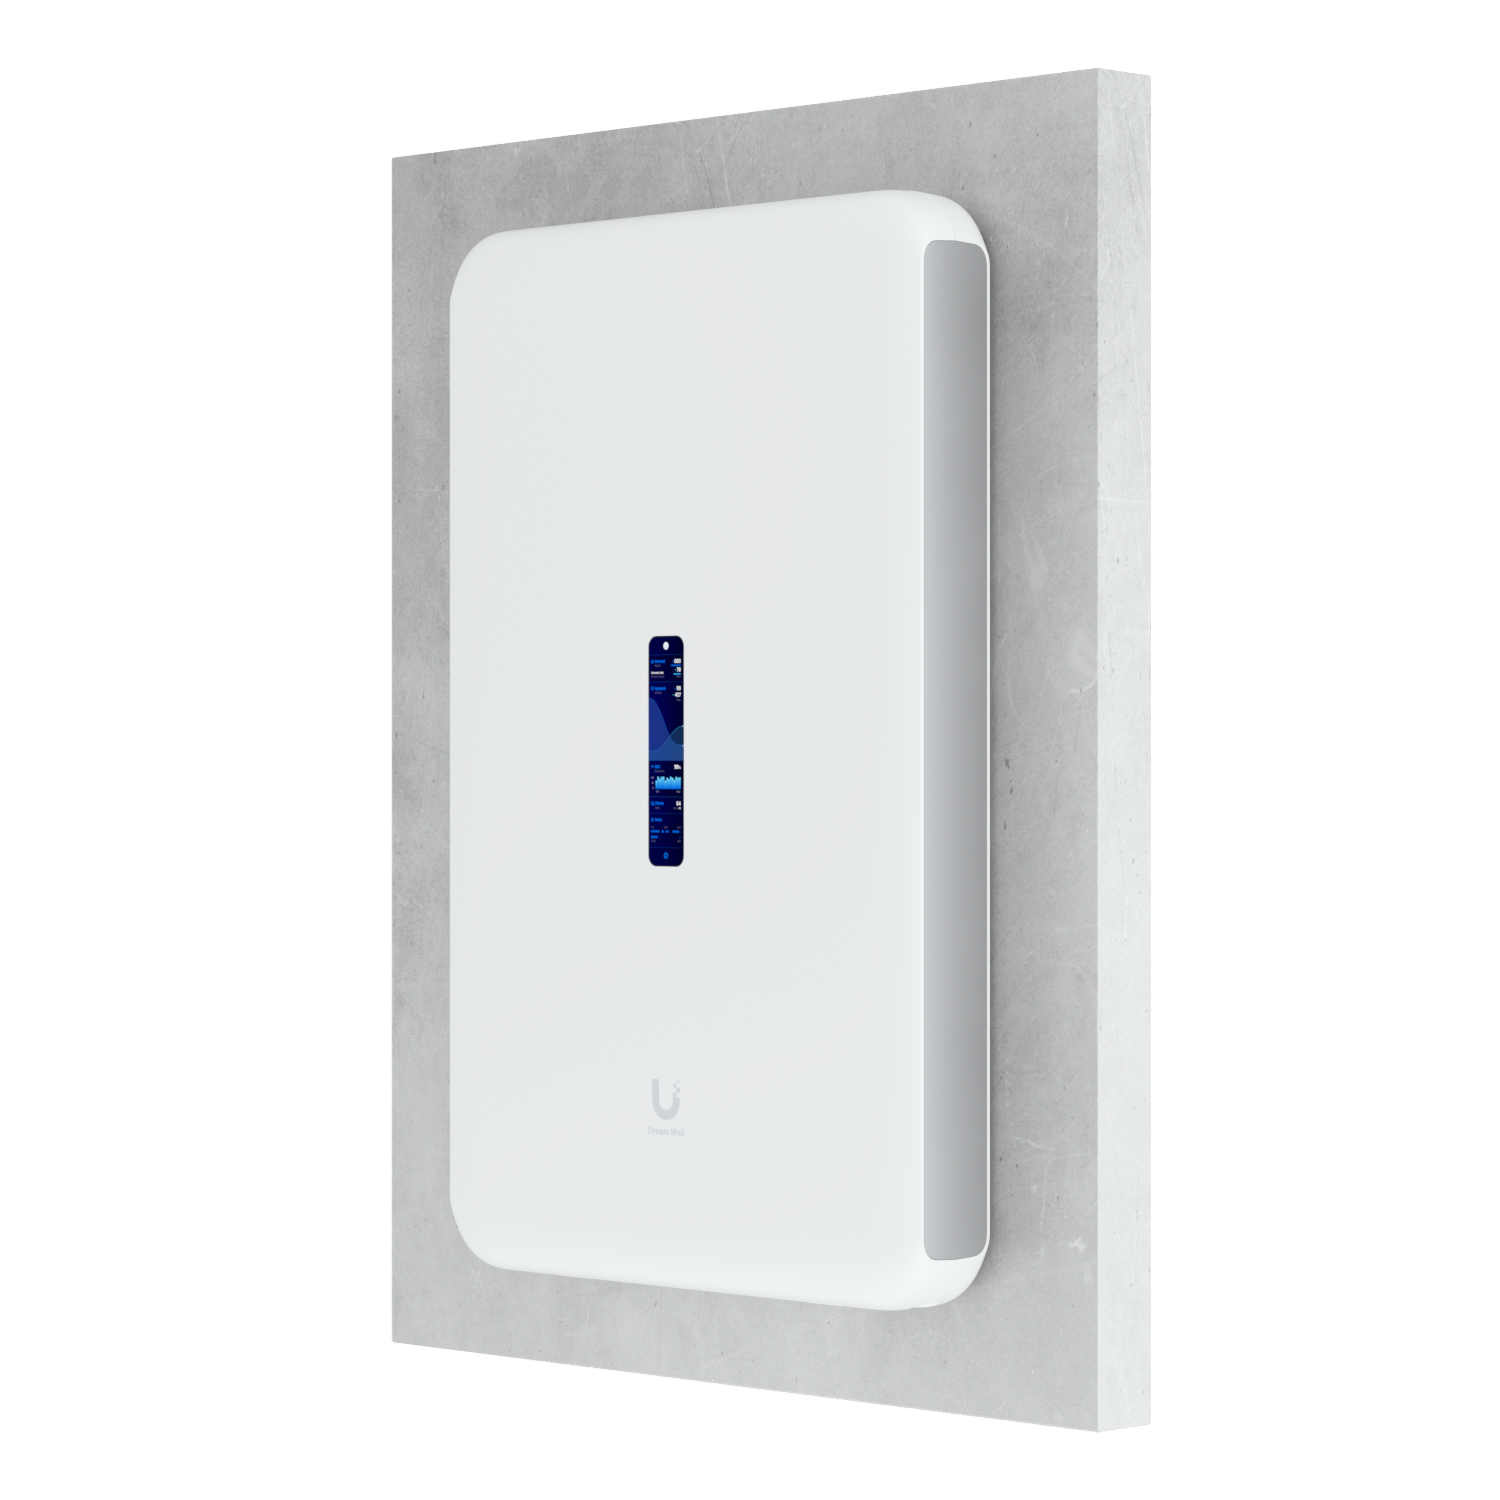
Transform Your Home Wi-Fi: Installing Ubiquiti Unifi Access Points and Controllers
In today’s digitally connected world, having a robust and reliable home Wi-Fi network is no longer a luxury but a necessity. For those looking to elevate their internet experience, installing Ubiquiti Unifi Access Points and Controllers is a game-changer. Whether you’re a home user seeking to eliminate dead zones or a business aiming to provide seamless connectivity for your team, the Ubiquiti Unifi network has you covered. In this guide, we will walk you through the essentials of building a wireless network using Ubiquiti Access Points, the Unifi Controller, and the Unifi Network Application, ensuring you achieve unparalleled performance and reliability. Discover how a Unifi Switch can further enhance your setup, creating a Wi-Fi system that meets all your needs.
Setting Up Your Network
Choosing the Right Ubiquiti Access Point
When setting up your Ubiquiti Unifi network, selecting the correct Ubiquiti Access Point (AP) is crucial. Ubiquiti offers a variety of APs to suit different needs and environments. For a standard home setup, the Unifi AC Lite provides excellent coverage and speed at an affordable price. If you require more robust performance for larger homes or small businesses, consider the Unifi AC Pro, which offers enhanced range and dual-band capabilities. For enterprise environments or larger properties, the Unifi HD or Unifi NanoHD models deliver superior performance and can handle a high density of users. Each access point integrates seamlessly with the Unifi Controller and Unifi Network Application, ensuring easy management and configuration. By choosing the right Ubiquiti Access Point, you can ensure optimal coverage and reliability for your specific needs.

Installing Your Unifi Controller
The Unifi Controller is the backbone of your Ubiquiti Unifi network, allowing you to manage and configure all your Ubiquiti Access Points. To get started, download the Unifi Network Application from the Ubiquiti website. Install the software on a computer or server that will be running continuously to ensure constant monitoring and management. Once installed, launch the application and follow the setup wizard to configure your network settings. You’ll be prompted to create an account and sign in to the Unifi Cloud, enabling remote access to your network. Connect your access points to the network, and the Unifi Controller will automatically detect them. From here, you can adopt the devices into your network, update firmware, and customise settings to optimise performance. The Unifi Controller’s intuitive interface makes managing your network straightforward and efficient, ensuring a seamless Wi-Fi experience.

Configuring the Unifi Network Application
After installing your Unifi Controller, the next step is configuring the Unifi Network Application. This application serves as the central hub for managing your Ubiquiti Unifi network. Begin by opening the Unifi Network Application and logging in with your account credentials. The dashboard will display an overview of your network’s status, including connected devices and data usage. Navigate to the ‘Devices’ tab to see all your Ubiquiti Access Points. Click on each device to customise settings such as SSID, security protocols, and channel selection. The ‘Settings’ menu allows you to adjust global configurations like guest networks, traffic management, and firmware updates. Use the ‘Insights’ feature to monitor network performance and identify potential issues. The application’s user-friendly interface simplifies complex configurations, ensuring that even novice users can set up an advanced network. Properly configuring the Unifi Network Application ensures your network operates at peak performance and reliability.


